Ingredients
Equipment
Method
- Add ingredients to the bread pan in this order: water, buttermilk, butter, sugar, salt, flour. Make a small well in the flour and add the yeast (keep yeast off the liquids).
- Select the Basic/White (Sandwich) program, 1 kg loaf size, and Light or Medium crust (Light keeps it extra sandwich-soft).
- During the first 10 to 15 minutes of mixing, lift the lid and check the dough. You want a smooth, slightly tacky ball. If it looks dry or crumbly, add water 1 tsp at a time. If it looks like batter or is smearing around the pan, add flour 1 tbsp at a time.
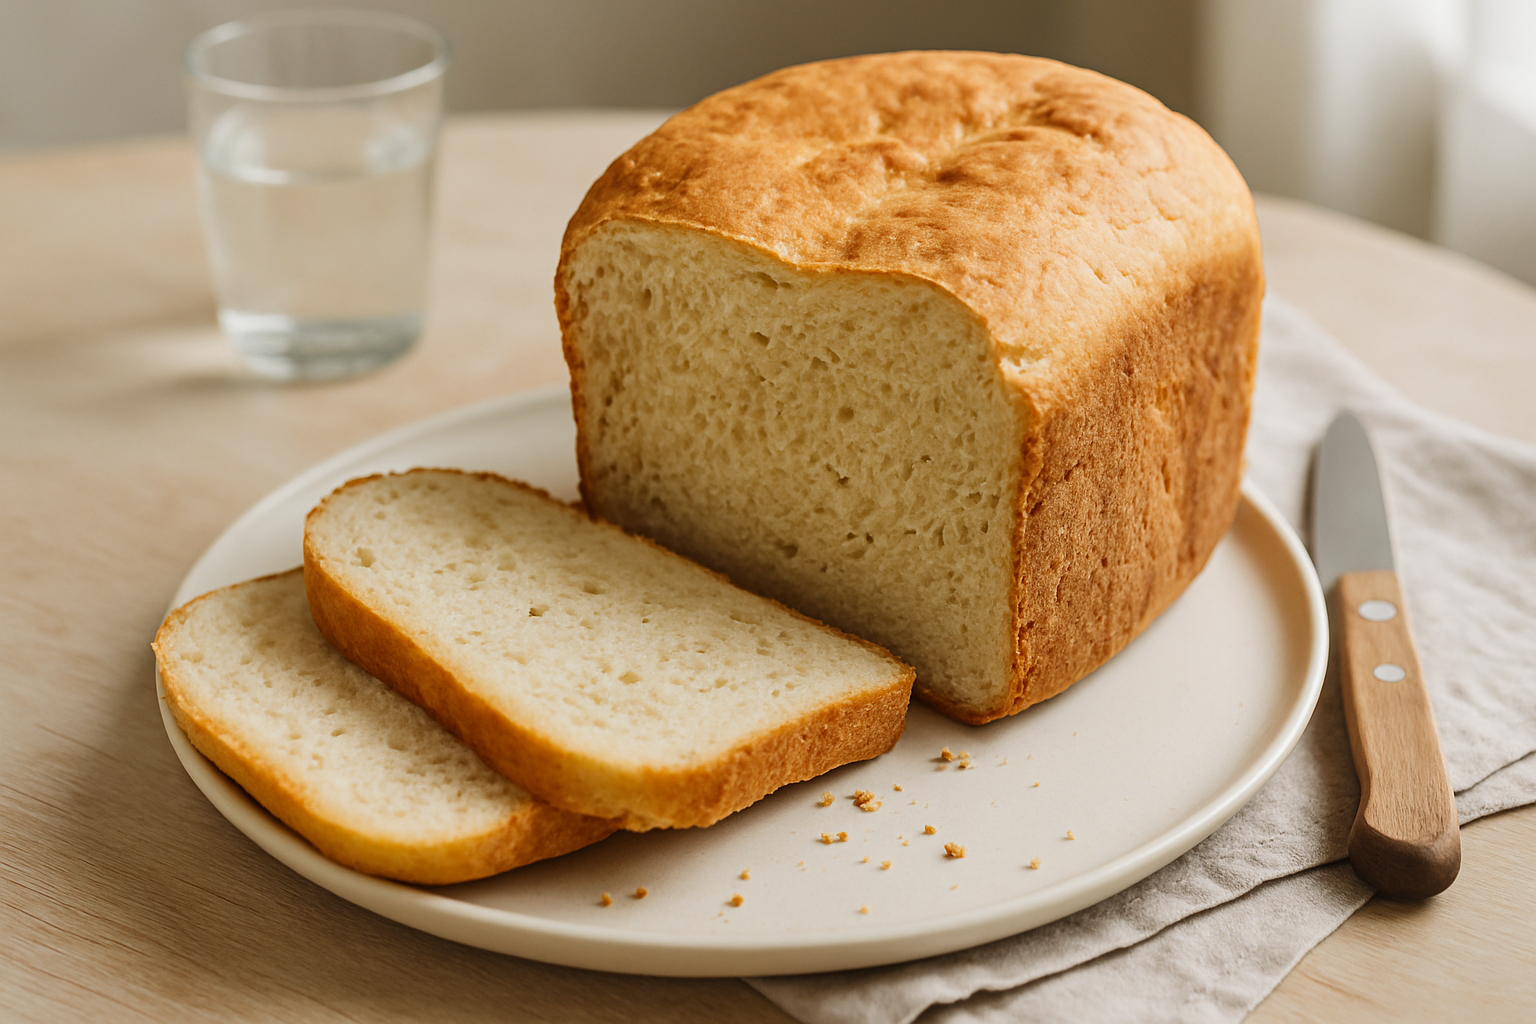
- Let the machine finish the cycle. When it beeps, remove the loaf right away and cool on a rack for at least 60 minutes before slicing (this helps keep slices neat, not squished).
- Slice, toast, and enjoy. This is a great “everyday” loaf for breakfast toast and school lunch sandwiches.
Notes
Program: Basic/White (or Sandwich, if your machine has it).
Crust: Light or Medium.
Loaf size: Use the 1 kg setting for the main recipe. For 750 g or 1.25 kg, use the matching size setting if your machine offers it.
Buttermilk note: Use real buttermilk if you have it. If not, see Tips for an easy substitute.
Paddle tip: If you like a cleaner slice, you can remove the kneading paddle after the final punch-down (if your machine allows it safely) and smooth the top with a damp hand. Tips:
- No buttermilk? Make a quick substitute: mix 130 g milk (dairy or unsweetened plant milk) with 2 tsp lemon juice or vinegar, then let it sit 5 to 10 minutes before adding.
- For extra-soft lunchbox slices: choose Light crust, cool fully, then store airtight. Warm bread + bag = sweaty bread (and nobody wants that).
- If your kitchen is very dry or your flour is extra thirsty, you may need an extra 1 to 2 tbsp water. Check the dough early and adjust gently.
- Want a slightly richer loaf? Add 1 egg (about 50 g) and reduce the water by 25 g for the 1 kg loaf.
- Slicing tip: a serrated knife and a fully cooled loaf makes the difference between tidy sandwiches and bread confetti. Approximate nutrition, will vary with exact ingredients and slice size.